Want to be involved in creating a mobile phone MMORPG? Check out my other blog here
Heroes
Each hero of Nimble Quest has different abilities, different armor, attack strength, attack speed, and so on. Heroes start at level 0, can be leveled up to a maximum level of 3, and on each level up, the hero gets a stat boost that improves his or her performance or gives that hero a special ability. This page lists all of the details on each hero.
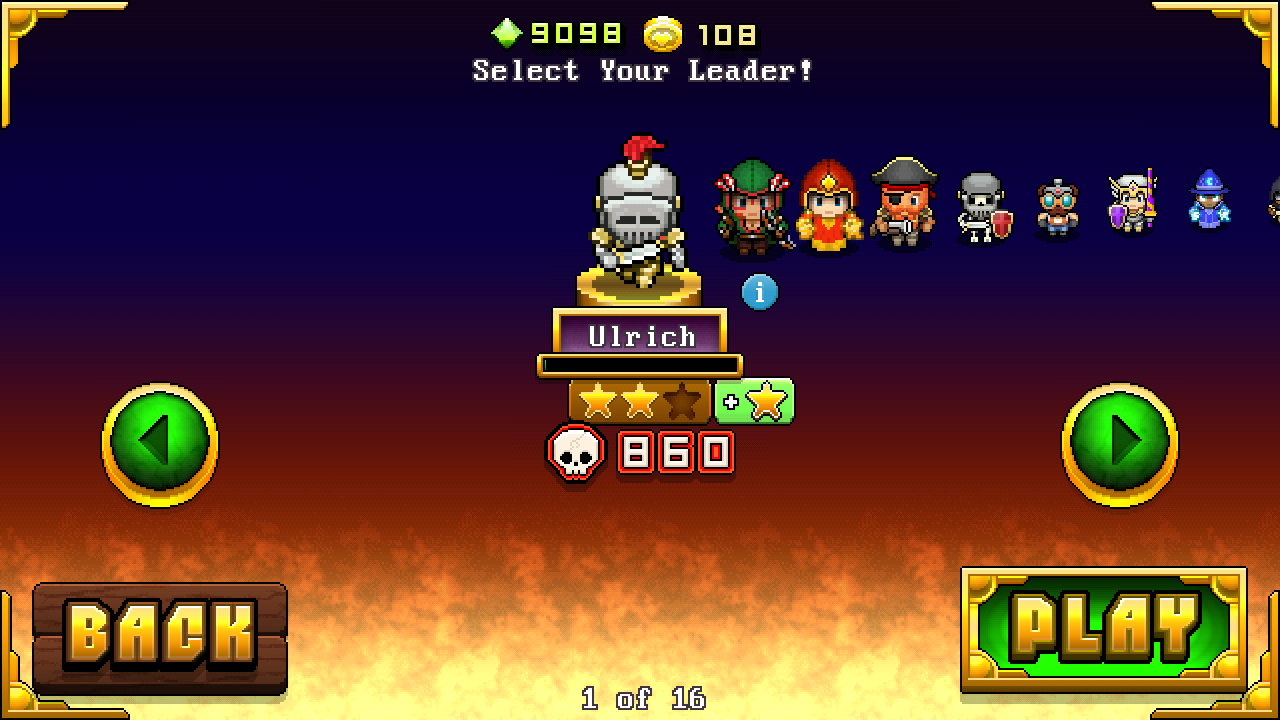
Ulrich
Ulrich is described as an outcast knight. He has a short sword and heavy armor.
- Ulrich's Level 1 Bonus: +25% Attack Rate (can shoot another arrow 25% sooner)
- Ulrich's Level 2 Bonus: +25% Armor (takes 25% less damage from attacks)
- Ulrich's Level 3 Bonus: +50% Armor (takes 50% less damage from attacks)
Ulrich's Appearance Changes on Level Up
- Shoulder armor becomes golden
- Leg armor and helmet details become golden
- Face shield becomes golden
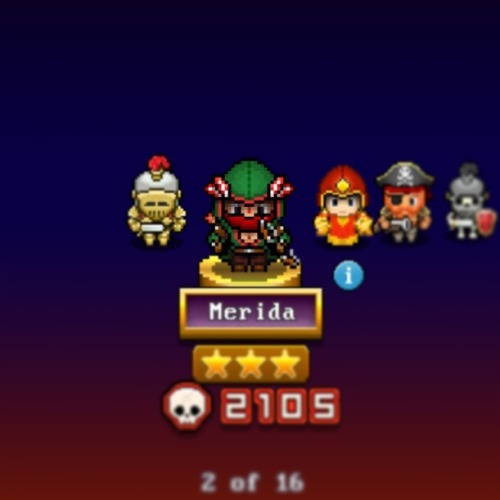
Merida
Merida is an archer with light armor.
- Merida's Level 1 Bonus: +25% Arrow Speed (her arrows move 25% more quickly)
- Merida's Level 2 Bonus: +50% Armor (takes 50% less damage from attacks)
- Merida's Level 3 Bonus: +100% Attack Range (she can shoot enemies from twice as far away)
Merida's Appearance Changes on Level Up
- Gains feathers on hood
- Gains metal belt buckle and metal details on wrists and bow
- ?
Blaze
Blaze is a lightly armored fire mage who shoots exploding fireballs.
- Blaze's Level 1 Bonus: +25% Attack Rate (can shoot another fireball 25% sooner)
- Blaze's Level 2 Bonus: +50% Armor (takes 50% less damage from attacks)
- Blaze's Level 3 Bonus: +50% Attack Range (can shoot enemies from slightly farther away)
Blaze's Appearance Changes on Level Up
- Gains gold edges on cloak
- Gains gold diamond on hood
- ?
Boomey
Boomey is a pirate with medium armor who shoots a musket.
- Boomey's Level 1 Bonus: +50% Attack Range (can shoot enemies from slightly farther away)
- Boomey's Level 2 Bonus: +50% Attack Damage (his bullets do slightly more damage to enemies)
- Boomey's Level 3 Bonus: +50% Bullet Speed (his bullets move 50% more quickly)
Boomey's Appearance Changes on Level Up
- Gains red bandana
- Gains black pirate hat
- ?
Bones
Bones is a skeleton knight with light armor and a long sword.
- Bones's Level 1 Bonus: +50% Armor (he takes 50% less damage from attacks)
- Bones's Level 2 Bonus: +25% Attack Damage (his attacks cause slightly more damage)
- Bones's Level 3 Bonus: +50% Attack Rate (he can swing his sword again 50% sooner)
Bones's Appearance Changes on Level Up
- Shield becomes red with a cross
- Helmet gains face guard
- ?
Gizmo
Gizmo is a gnome who throws bombs and has light armor.
- Gizmo's Level 1 Bonus: +25% Blast Radius (his bomb explosions cause damage to a larger area)
- Gizmo's Level 2 Bonus: +50% Attack Rate (he can throw another bomb 50% sooner)
- Gizmo's Level 3 Bonus: Explosion on Death (when he dies, he acts just like a dropped bomb, causing a big explosion that kills all enemies in its radius)
Gizmo's Appearance Changes on Level Up
- Gains black gloves
- Gains metal part on goggles
- Right goggle lens becomes larger, green with crosshair
Uther
Uther wields a lance and has heavy armor. His lance causes damage straight ahead.
- Uther's Level 1 Bonus: +25% Attack Rate (he can hit again with his lance 25% sooner)
- Uther's Level 2 Bonus: +25% Armor (he takes 25% less damage from attacks)
- Uther's Level 3 Bonus: Heal on Hit (he heals himself a limited amount whenever he (and only he) is hit)
Uther's Appearance Changes on Level Up
- Gains gold details on armor, lance, and shield
- Gains purple gem on helmet, gold stripes on lance
- ?
Arcane
Arcane is a wizard who shoots ball lightning and has very light armor.
- Arcane's Level 1 Bonus: +50% Armor (he takes 50% less damage from attacks)
- Arcane's Level 2 Bonus: +50% Attack Range (he can shoot enemies from slightly farther away)
- Arcane's Level 3 Bonus: +100% Attack Rate (he can shoot another lightning ball 25% sooner)
Arcane's Appearance Changes on Level Up
- Moon on hat begins to glow
- Cloak and hat become more detailed
- Gains a white beard
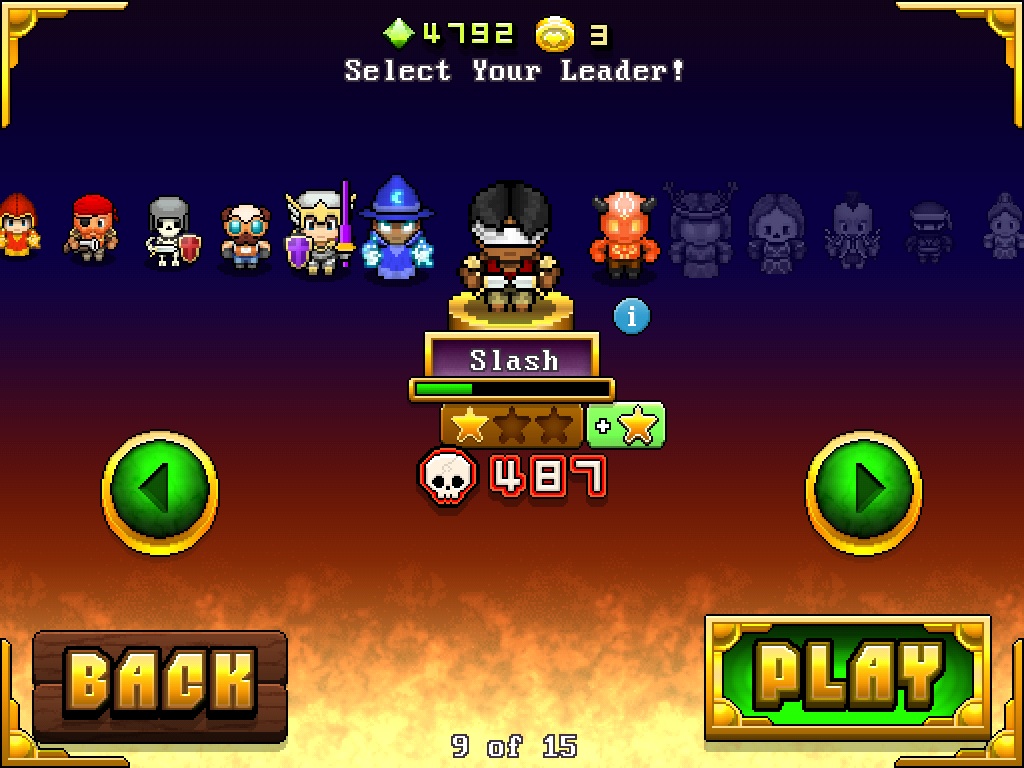
Slash
Slash has a dagger in each hand that he slashes very quickly. He has light armor.
- Slash's Level 1 Bonus: +50% Armor (he takes 50% less damage from attacks)
- Slash's Level 2 Bonus: +100% Armor (he takes half as much damage from attacks)
- Slash's Level 3 Bonus: +50% Attack Damage (his attacks do 50% as much damage)
Slash's Appearance Changes on Level Up
- Gains a black cloak with hood
- Gains gold details on cloak
- ?
Ember
Ember is a demon with medium armor who attacks with a flame shockwave.
- Ember's Level 1 Bonus: +25% Armor (he takes 25% less damage from attacks)
- Ember's Level 2 Bonus: +25% Attack Rate (he can use another fire shockwave 25% sooner)
- Ember's Level 3 Bonus: +25% Attack Damage (his attacks do 25% as much damage)
Ember's Appearance Changes on Level Up
- Gains gold details on head and body
- Horns get bigger
- ?
Faenel
Faenel is a forest spirit who shoots energy balls. She has medium armor.
- Faenel's Level 1 Bonus: +50% Armor (she takes 50% less damage from attacks)
- Faenel's Level 2 Bonus: +50% Missile Speed (her energy balls move 50% more quickly)
- Faenel's Level 3 Bonus: Root on Hit (whenever an enemy hits her (and only her), that enemy, and any enemies following it, will be temporarily frozen in place with roots)
Faenel's Appearance Changes on Level Up
- Gains gold circlet
- Gains brown antlers/branches
- ?
Ezora
Ezora has medium armor and throws bones.
- Ezora's Level 1 Bonus: +50% Armor (she takes 50% less damage from attacks)
- Ezora's Level 2 Bonus: +100% Attack Rate (she can throw bones twice as frequently)
- Ezora's Level 3 Bonus: Heal on Hit (whenever she (and only she) is hit, she heals herself (and only herself) a limited amount)
Ezora's Appearance Changes on Level Up
- Gains white gloves
- Gains bone crest on back
- ?
Gurzog
Gurzog is an orc with heavy armor who swings two axes.
- Gurzog's Level 1 Bonus: +25% Attack Rate (he can swing his axes 25% more frequently)
- Gurzog's Level 2 Bonus: +50% Attack Damage (his attacks do 50% more damage)
- Gurzog's Level 3 Bonus: +50% Armor (he takes 50% less damage from attacks)
Gurzog's Appearance Changes on Level Up
- Gains red marks on head
- Gains horns
- ?
Kishi
Kishi is a lightly armored ninja who throws shuriken.
- Kishi's Level 1 Bonus: +100% Armor (he takes half as much damage from attacks)
- Kishi's Level 2 Bonus: +200% Armor (he takes 25% as much damage from attacks)
- Kishi's Level 3 Bonus: +100% Attack Range (he can throw shuriken from twice as far away)
Kishi's Appearance Changes on Level Up
- Gains red headband
- Gains white face mask
- ?
Hydra
Hydra is a princess who shoots bolts of ice and has medium armor.
- Hydra's Level 1 Bonus: +75% Armor (she takes 75% less damage from attacks)
- Hydra's Level 2 Bonus: +100% Attack Range (she can shoot ice bolts from twice as far away)
- Hydra's Level 3 Bonus: Freeze on Hit (whenever an enemy hits her (and only her) that enemy, and any enemies following it, are frozen to the spot with ice)
Hydra's Appearance Changes on Level Up
- Gains glowing aura on hands
- Gains ice-blue circlet
- ?
Bolas
Bolas is a monk who shoots spinning, exploding energy. He can only shoot forward. He has light armor.
- Bolas's Level 1 Bonus: +100% Armor (he takes half as much damage from attacks)
- Bolas's Level 2 Bonus: +25% Attack Damage (his attacks do 25% more damage)
- Bolas's Level 3 Bonus: +50% Bullet Speed (his energy balls move 50% more quickly)
Bolas's Appearance Changes on Level Up
- Gains golden shoulder armor
- Gains glowing eyes and forehead designs
- ?
Want to be involved in creating a mobile phone MMORPG? Check out my other blog here